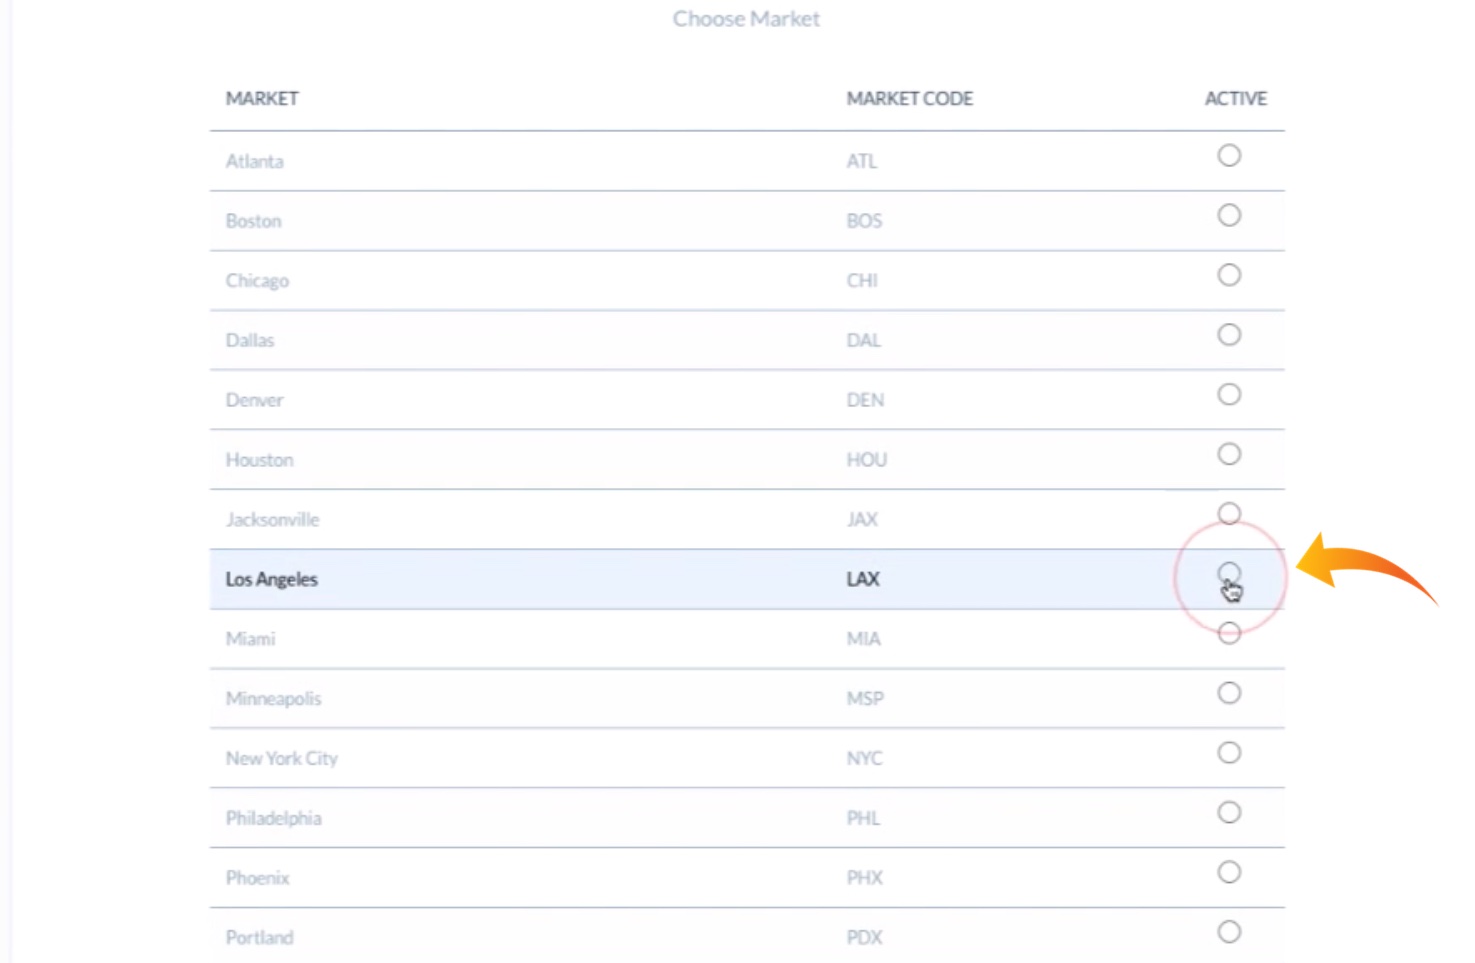
3. Select Destination Port Market
We’ll now choose our destination port; let’s select Los Angeles:
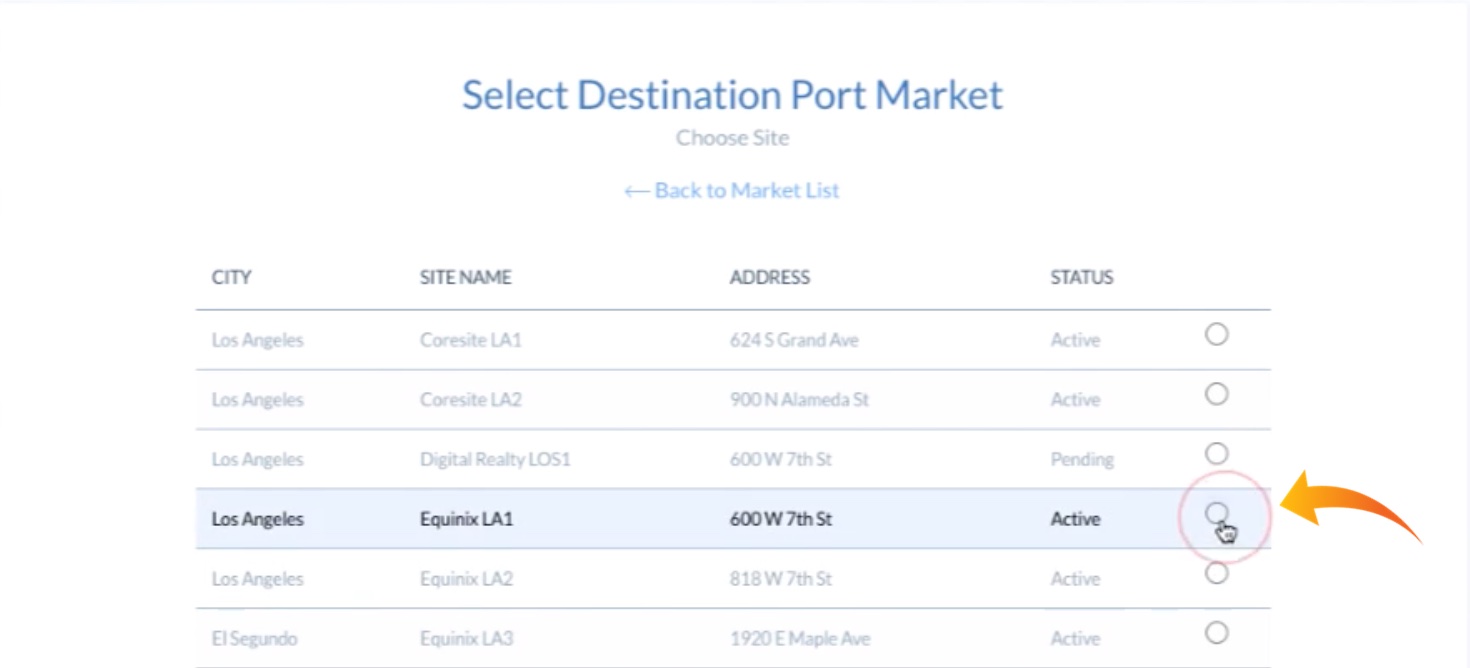
Once we’ve chosen a city we’re again presented with a list of available sites. We’ll select Equinix LA1:
We again see the green checkmark, confirming that this selection has successfully completed. Notice that as we advance through each step in the process, we get continuous and cumulative feedback on our selections. We can at any time revise any of these selections by clicking CHANGE SOURCE LOCATION, CHANGE SOURCE DETAILS, CHANGE DESTINATION LOCATION. Once we’ve settled on our destination details, we’ll be able to modify them as well.
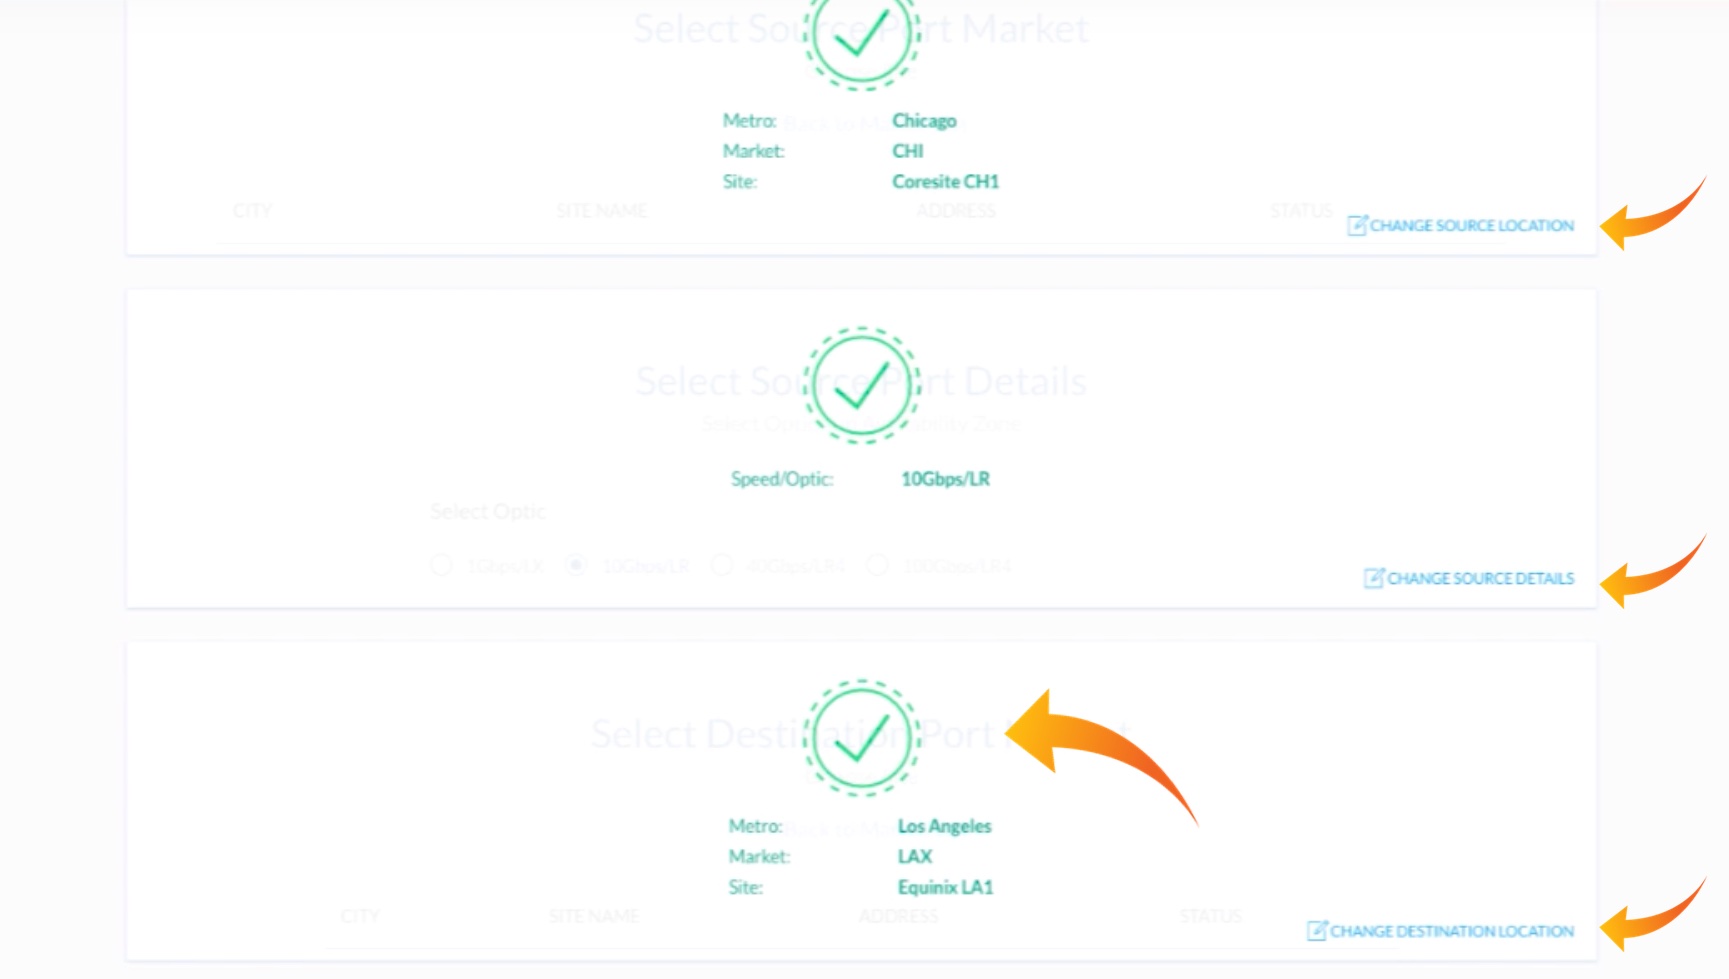
Note that the only option available (above) for Speed is ten gigabits per second, because the port speed must match between source and destination. This is a requirement of the PacketDirect point-to-point services. Our component ports, however, offer virtual circuits of varying sizes between ports of different speeds.
We now are presented with the Package Confirmation Screen.
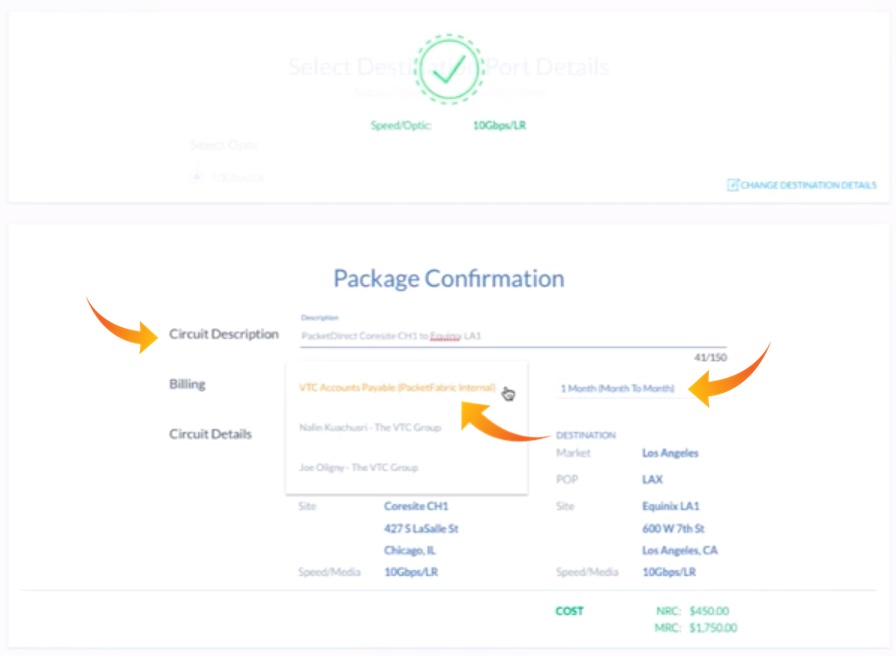
The Circuit Description can contain any identifying information we like, or we can choose to leave it with its default name, as we’ve done above. We also choose the billing account to which we’ll assign charges, and select the term for the service (terms are available anywhere from one to month up to 36 months).
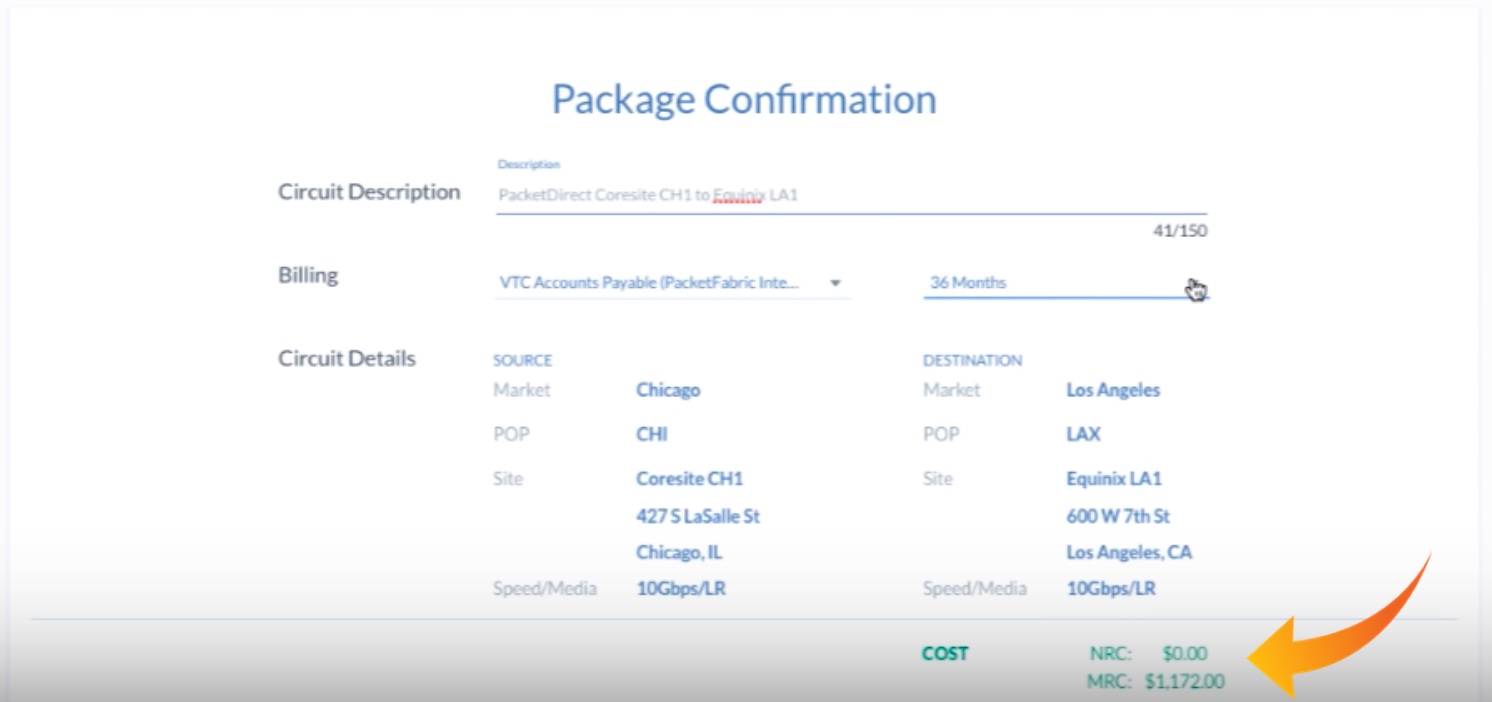
Discounts on both NRC and MRC charges are offered based on term lengths selected. After changing the term length from 12 to 36 months, note that the NRC and MRC charges are both automatically reduced.
We’ll choose 24 months, however, and then hit the CREATE button:
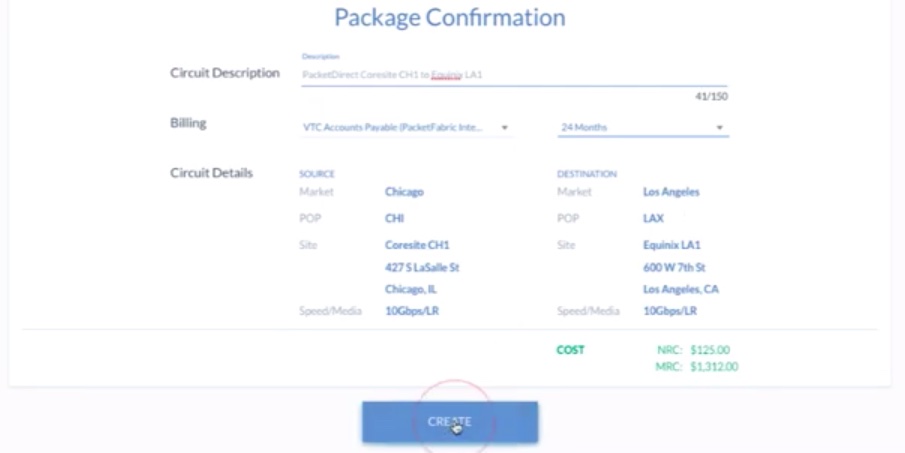
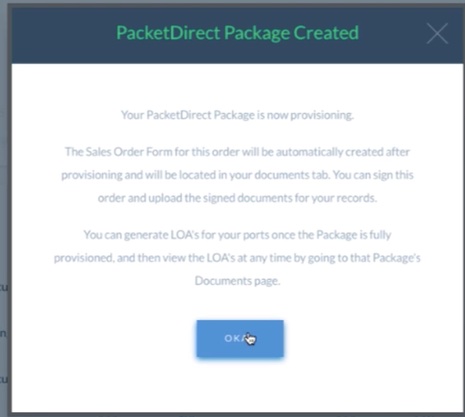
The PacketDirect process takes about two to three minutes to fully deploy!